3 steps to perfecting your video call
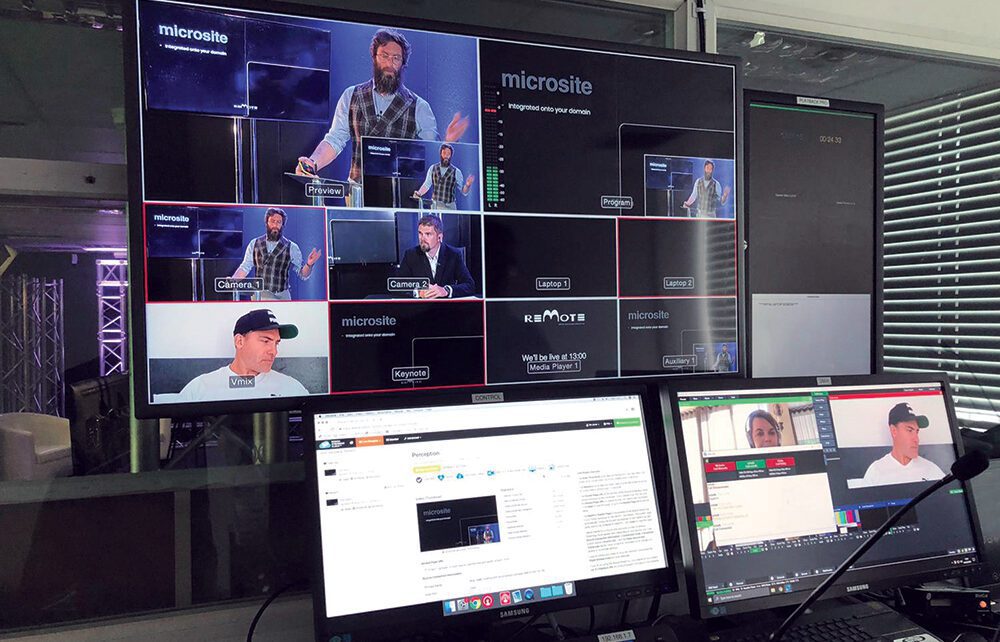
During 2020, like many AV companies, we had a marked increase in enquiries for virtual events. incorporating various elements such as a video call were with panels of presenters interacting remotely to minimise travel.
Across all platforms, we found that one thing remains constant. Everyone wants top-quality audio and video coming in from the remote presenters. Once we confirm a good internet connection, the quality is down to the environment and camera.
Here are our recommendations for getting the best out of your video call at home.
1. Get the best camera you can for your video call
Buying a dedicated video camera and hardware for video calls isn’t viable for most people.
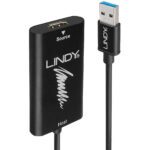
The good news is that if you own a modern DSLR with a HDMI output, you already have the most expensive part sorted. You can get a USB capture card and connect to any laptop with a USB 3.0 port. This creates a high-quality webcam suitable for platforms such as Zoom, Teams and more. This is a massive upgrade compared to a standard built-in webcam. You can expect more accurate colours, sharper focus and little to no graininess.
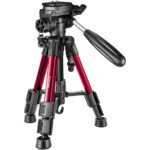
Place the DSLR on a small, sturdy tripod on your desk.
It is best to have your camera eye level to avoid having to glance down which can be unflattering.
What if you don’t own a DSLR?
If you don’t own a DSLR, it will still be beneficial to use something other than the laptop’s built-in webcam. This will give you better colours, sharpness and positioning on your video call.
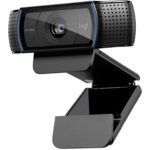
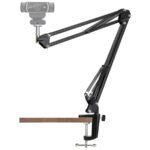
Try a USB webcam placed on a lightweight tripod to bring it up to eye height.
2. Lighting is everything!
Controlling lighting is essential if you are using a webcam. Webcam’s don’t tend to be able to accept a wide range of light levels compared to DSLR’s.
Using natural light
Ensure there is no light source behind you such as a bulb or window. Otherwise, the camera will adjust itself for the bright light, putting you in the dark. Position yourself with natural light coming from straight in front of you to avoid shadows and exaggerated features
What if you can’t control your natural light source?
If you have no option but to have the window behind you, try applying some window film. This will reduce the sunlight coming through the window.
LED lighting
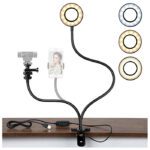
You can further improve your video by using a small LED light next to your camera. This one also holds your webcam and connects to a spare USB port for power.
3. Do not forget about your sound
Now the video’s sorted, let’s look at the sound.
Many brand-name webcams also have a built-in microphone, which sounds great if you’re in a quiet room. But let’s be honest, working from home is not always quiet. We have to navigate a range of unavoidable background noise from kettles to kids.
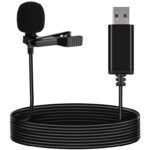
The best way to reduce this is to bring the microphone closer to your mouth by using a clip-on lapel microphone which connects to a USB port. This option is for newer laptops without a headphone port or computers that are incompatible with microphones with a 3.5mm jack.
More expensive wireless options are available. However, in our opinion, cost and reliability concerns aren’t worth the extra money. This is because you are generally positioned in the same place all the time.
You now have a more professional set up allowing giving you higher quality video and sound.
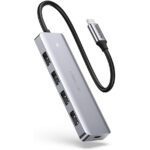
It is worth noting that with all these accessories using USB ports, you are likely to find yourself short on ports. Modern MacBooks, as an example, have a single USB-C port. A hub converts your single port into 4 high-speed USB 3.0 ports.

